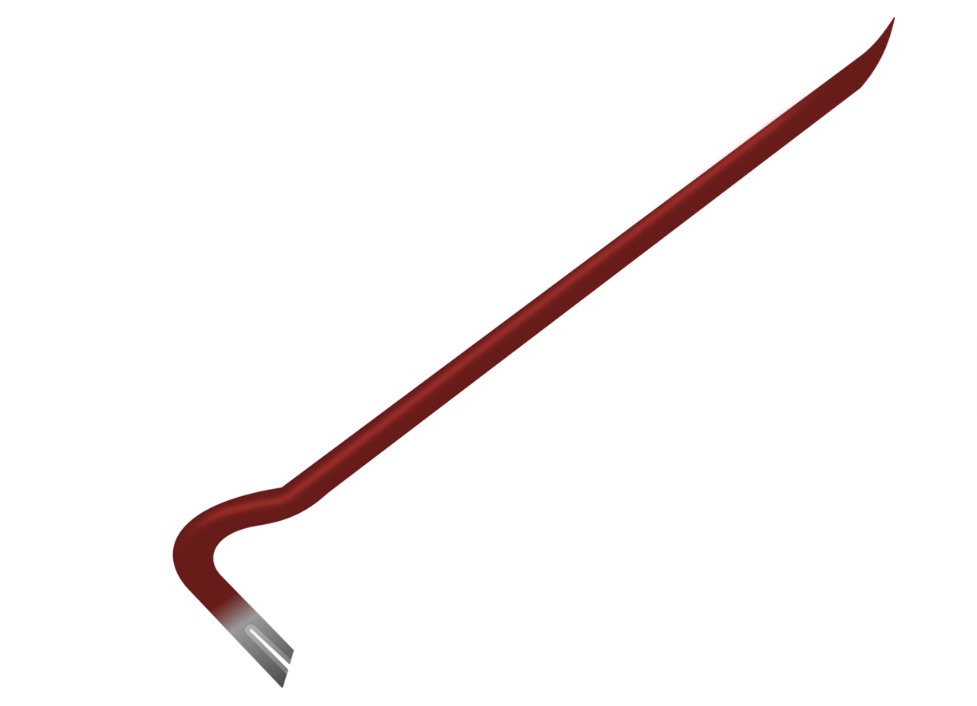
For even the most amateur DIYers, having the right tools is the most important thing. Without them, it doesn’t matter how skilled you are because getting the job done will be a lot more difficult.
Click here to get a pry bar from a trusted vendor and you will have one of the most versatile tools in your arsenal. If you want to take on more home improvement projects, you definitely need to have a pry bar ready.

Changing Pictures
How hard is it to hang pictures? Not very if you have a little experience but when it comes to changing those pictures and moving them somewhere else, it can wind up being a huge pain. Unless you have a pry bar handy.
Pry bars have heads that are great for prying up nails, perfect for situations like this. You can just fit the hole over the nail and gently pull to pry the nail up. If it’s stuck, just use a little plywood between the wall and bar to prevent any dents from happening.
Removing Tile Flooring
Updated flooring is one of the most common DIY projects out there. There’s nothing like new flooring to give even an outdated home a little pop of modern flair. If you have tile, it might seem like a huge project unless you have a pry bar ready.
Vinyl tiles are pretty easily removed using the end of the pry bar. Ceramic, though, means you need to chip away at them. Use your pry bar and tap the end closest to you to start breaking pieces apart. Keep at it and the tiles should come up sooner or later.
Remove Peeling Paint
Peeling, chipping, old paint just flat-out looks awful. Even worse, you can’t just paint over it because the paint won’t properly adhere to the wall. That means having to chip away that old paint and make it smooth before you start to repair it.
Using the flat end of your pry bar can wind up making short work of that tedious job. Make sure you scrape with the grain so you don’t take any chunks out. A little bit of pressure is all that’s needed to get those ugly chips up and out of the way.
Pry Open Painted Windows
Painting windows is very common because it can make even old windows look new again. The only problem is that the paint can make the sash and jamb stick together. What good is a window if you can’t even open it?
That’s where your pry bar can provide an easy solution. Angle the flat end between the jamb and sash, using a mallet to gently tap it further under. Make sure you start at the top of the sash, working down both sides until you loosen everything. Best of all, you shouldn’t do any damage to the paint in the process.
Take Off Old Molding
Whether you are just removing flooring or want to do the molding, too, it’s all got to come up. If you don’t remove the molding, you could wind up damaging it, which means you’ll have to replace it even if you didn’t plan on it.
Make sure you cut away the caulk at the seam between the wall and molding so you can fit the pry bar in. Tap lightly using your mallet and you should create a wedge between the two surfaces. Just pull toward you and you should be able to remove the molding in one piece and without doing any damage.

